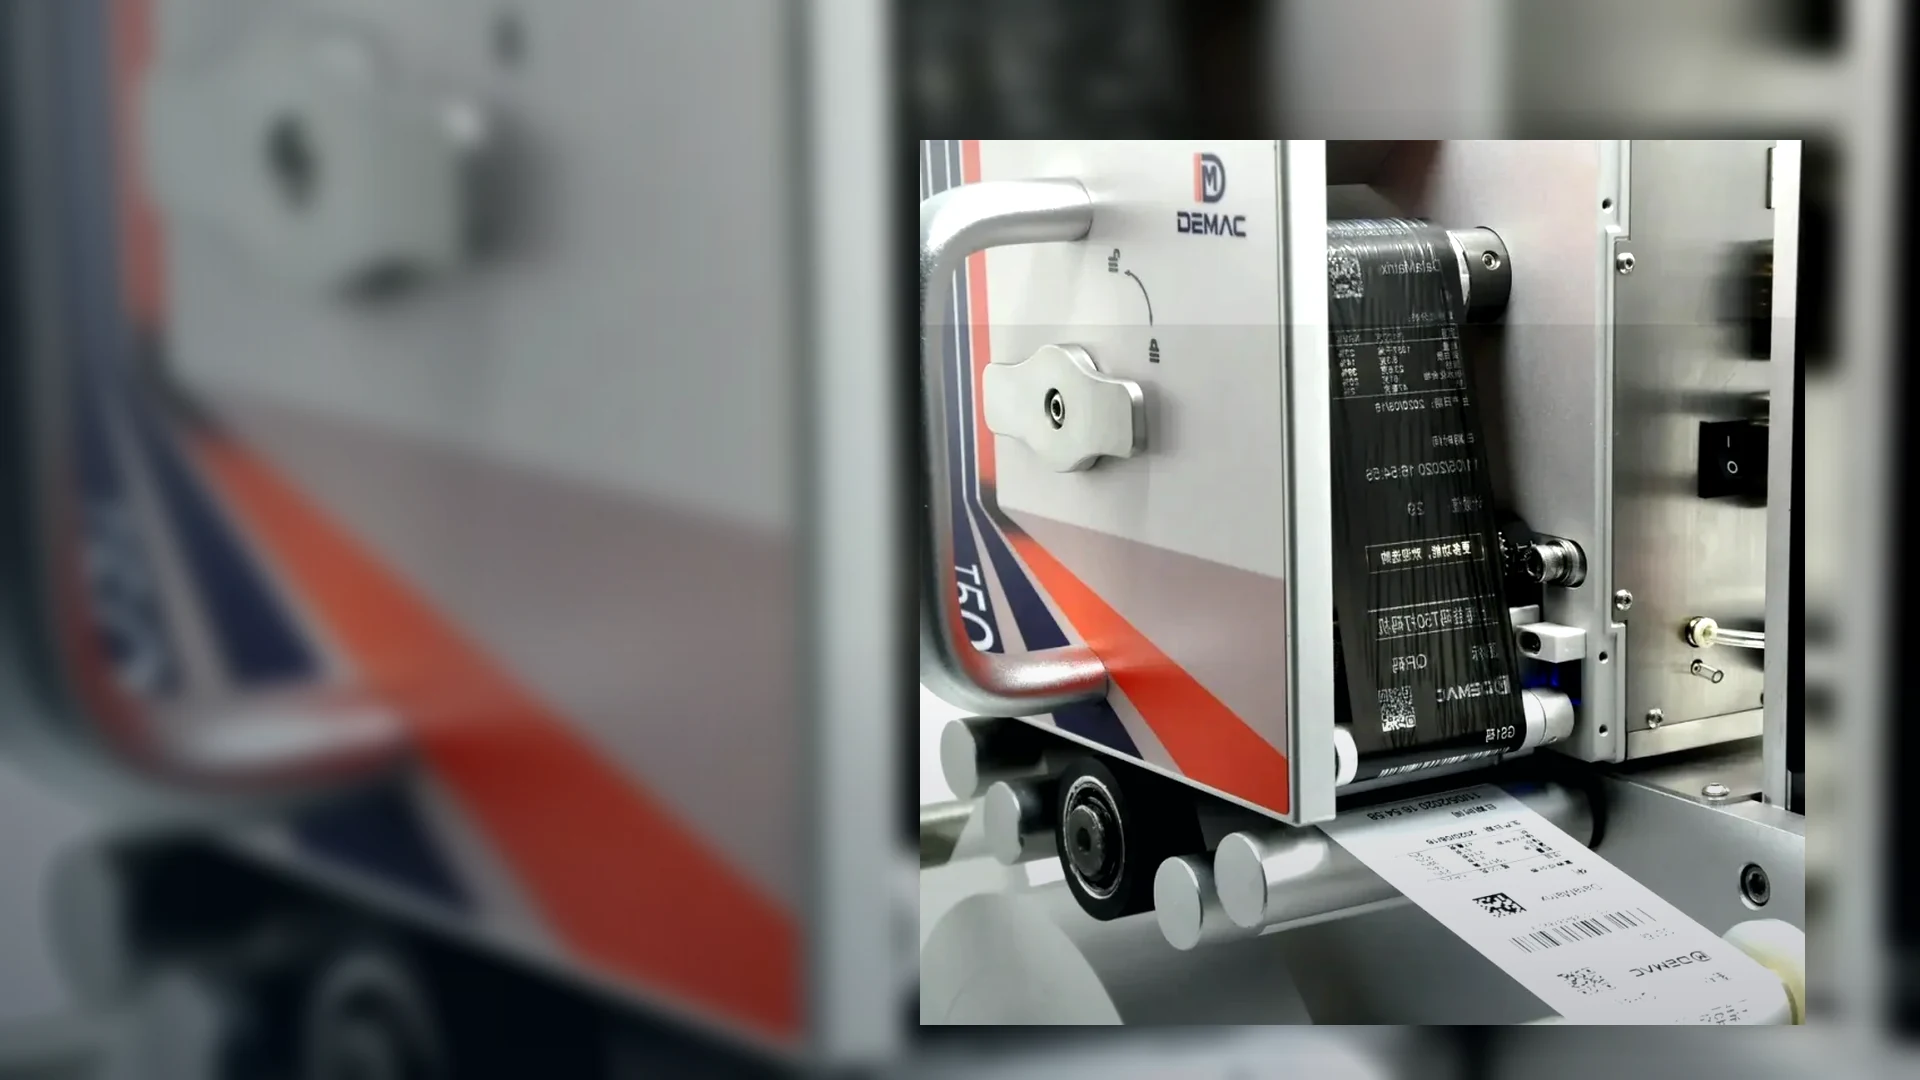
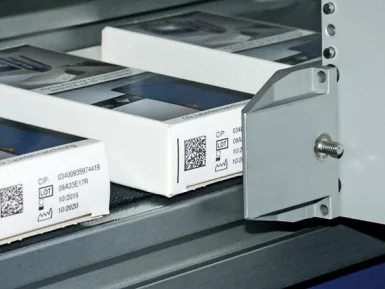
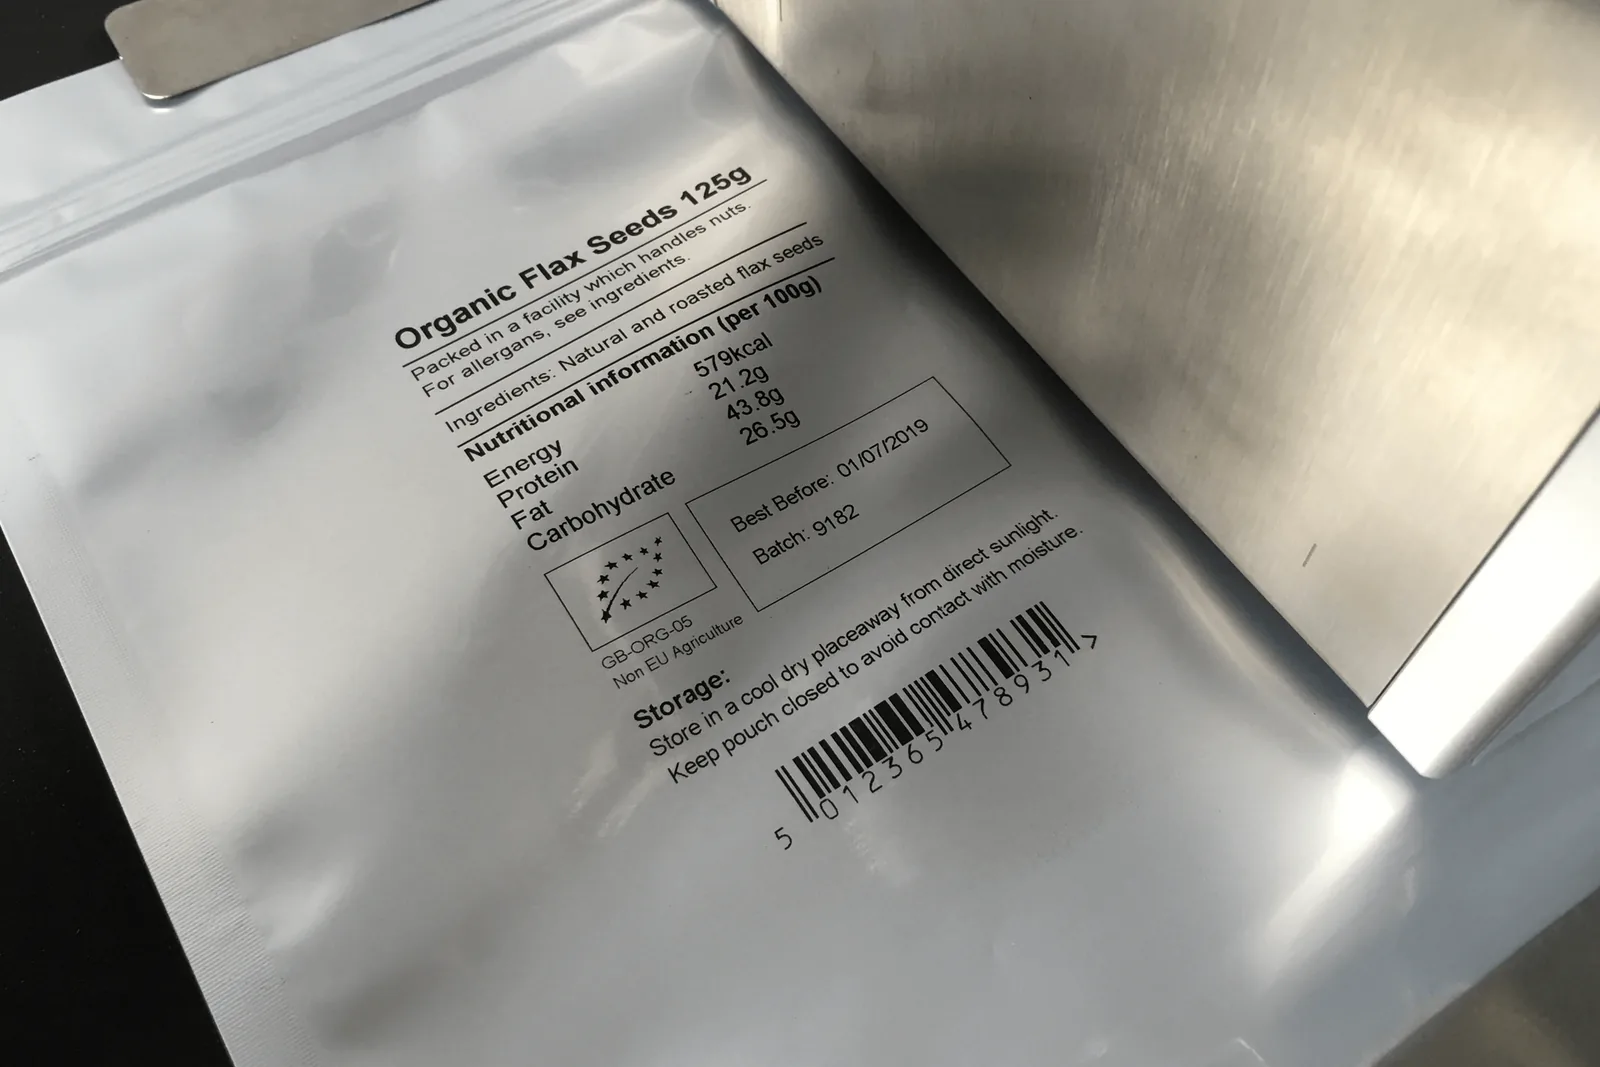
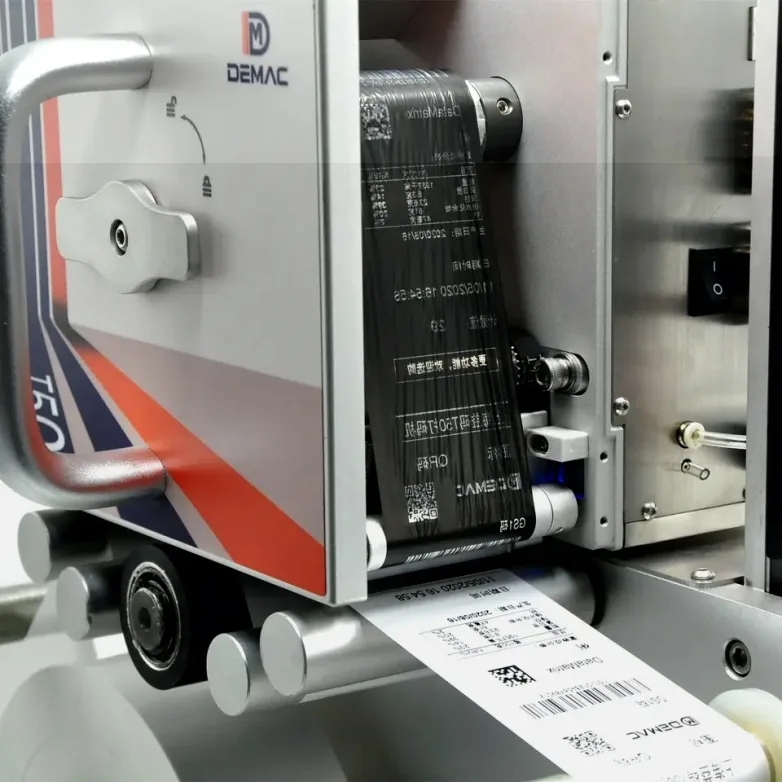
Collect samples that represent production rather than only the easiest material. Include every different film, label coating, carton finish, bottle colour or surface treatment that could affect adhesion or contrast. Record supplier and material references so the approved result can be traced.
Prepare the full production message. Use the smallest character, narrowest barcode feature, largest data layout and every variable field expected in normal operation. A short date-only sample does not prove that a dense barcode, logo or multi-line job will work at the same speed.
Run at normal and maximum expected line conditions. Record speed, product pitch, print distance, print energy or quality settings, ink or ribbon, ambient conditions and drying or cooling time. Where the printer is installed on VFFS or flow wrapping equipment, inspect the code again after forming and sealing.
Adhesion and rub testing should reflect the real exposure. The project may require dry rub, contact with belts or guides, oil, water, condensation, heat, cold, cleaning chemicals or storage. There is no universal pass result in this guide because the customer must define what the code needs to survive.
For a barcode, QR or DataMatrix symbol, agree the scanner or verifier and the acceptance threshold before testing. Keep the code size, quiet area, contrast and substrate fixed when comparing printers. A symbol that scans once under ideal lighting is not automatically approved for the production process.
Retain an approved sample and the conditions that produced it. That reference helps operators and service engineers distinguish a printer fault from a changed substrate, consumable or line condition later.